
Today we are adding a new video to our Tutorials. This one is about the impact of layouts.
Briefly let’s discuss what affects ball motion. So what affects ball motion at a macro level? Assuming we are eliminate as many variables as possible, the surface of the ball affects 70% of the ball reaction while ball dynamics affect the remaining 30%. If you look at the USBC ball motion study, it shows that the top 5 factors affecting ball motion are Ball Surface roughness (how deep the pores are), on lane Coefficient of Friction (where oil is), surface roughness (distance between pores), then Dry lane COF and finally oil absorption. Then you get to RG and total differential. For context, RG in position 6 is about 1/3 the impact of Surface roughness. That doesn’t mean it’s not impactful but surface dictates the majority of ball reaction.
So now we get to layouts. Since ball dynamics themselves account for only 30%, layouts can impact a small window of that, I’ll just venture 15% to give it the benefit of the doubt but likely less. Reason being, you can alter RG and differential with pin position, but within a limited constraint. You’re not going to turn a 2.49 RG ball into a 2.69 RG ball.
So generally speaking layouts affect ball motion on a micro level. This video will actually demonstrate that it is even less than 15% BUT it is not negligible to the seasoned bowler.


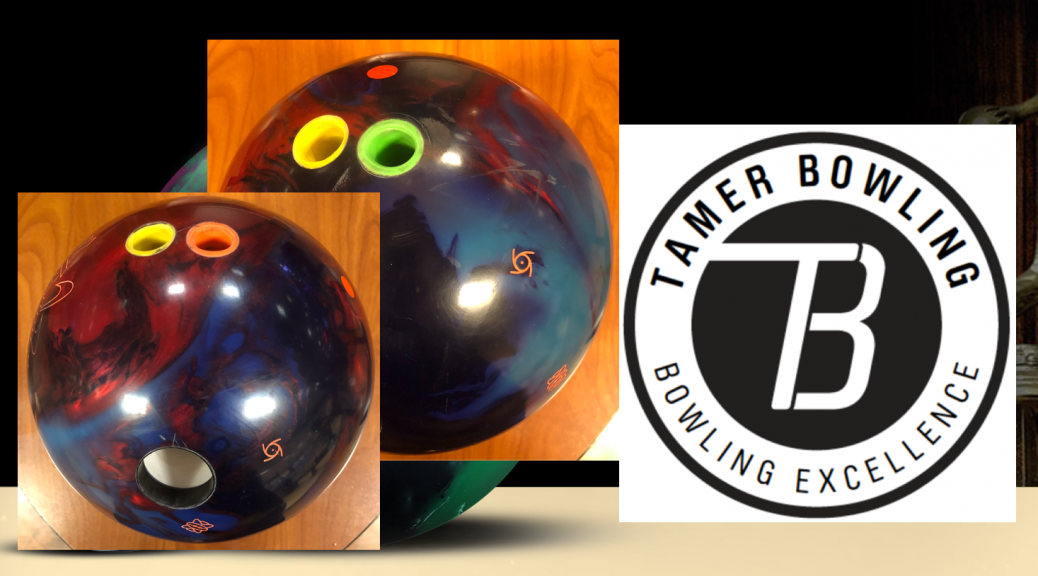
In this experiment, we take the Storm Physix, a high end hybrid asymmetric ball. Specs are 2.48, .053, and .017 intermediate diff for a 15 pound ball. Doug has 2 pieces. One laid out at 20 x 5 x 40. The other 60 x 1.5 x 30. The theory is that the first ball should have some length while being pretty quick rolling and moderate transition. The second ball positions the pin very close to the PAP so should be very stable and smooth reacting. But how different are they on lane?
Well let’s take a look. Here are 2 shots, A and B. Can you tell which ball is which? Here’s what Digitrax tells us about these 2 shots. One is generating 4.3 degrees of entry angle while the other 5.5. Breakpoints are almost identical at 41.2 feet. So? Well the one generating more angle is B, the 5″ pin.
Let’s keep going.
Here is another A and B. He’s moved in a bit. Both shots are 15 at the arrows and 7-8 at the breakpoint. These shots obviously look different. Can you guess which one is which though? Before I tell you the answer, here’s what Digitrax shows. Shot A is generating 4 degrees entry angle while shot B generates 5.9. Even though I tried to throw you off, the one with more entry angle is the 5″ pin.
Let’s take a look at one more comparison of A vs B.
Before I go further, let’s see some more action. Here are progressive shots with the 1.5″ pin ball. With each shot Doug moves 2 with his feet and 1 at the arrows. Each shot is very predictable. Overall shape is so similar. But the one thing it doesn’t do is create a ton of angle downlane. That makes total sense as the pin location puts the core in a very stable position. Eventually, the downlane reaction is too soft to carry and he leaves a flat 10 with the ball deflecting severely through the pins
Now he does the same progression with the 5″ pin. Again, he moves 2-1 with each shot. He can throw several more shots and get several boards deeper before the 5″ pin gives up the carry.
Now here’s one last shot using speed with less hand and rotation from the outside. Could you tell which one is which? Digitrax puts these 2 shots almost identical but shot 1 is the 1.5″ pin while shot 2 is the 5″ pin.
Now which ball do you think is better? Ok, that’s a trick question. The answer depends on the situation. Did you expect the ball reactions to be significantly different? Did you expect them to cover less or more boards? Well the test here shows you that layouts affect ball reaction at a micro level. That’s what I call it. Basically, it’s the same ball reaction until just a bit past the breakpoint. Then the 1″ pin is more stable with less violent reaction downlane. That didn’t actually mean you needed to move. On the contrary, you can play the balls more or less on the same line. But when the pattern is a bit longer, you may want the ball to be more aggressive to turn over. When the 5″ pin is leaving you 8 and 9 pins, the 1.5″ pin would be perfect. Now, do you have room in your bag for the same ball with 2 different layouts? That really depends on how big your bag is. While you can see usefulness in having different layouts, you want to understand the impact. The surface tutorial showed you that you definitively have to adjust lines with surface. Backend reaction is changed with extreme surfaces in either direction but it comes at the cost of impact in the front and midlane. Layout variation will not change what the ball does in the fronts and mids very much but it will more likely impact the way the ball comes off the spot. It’s much more subtle. You have to decide if you have or need room for that subtlety. In some cases, people really love a certain ball and you can then carry multiples of the same ball with varying surfaces and layouts.
I’m not going to tell you what to do but to make it clear what the differences are. Now before I close I want to make something else clear. A 1″ pin is an extreme layout. You have to use extreme layouts to see real differences. Extreme would be less than 2″ or more than 6″. Between 2″ and 6″, the differences are way more subtle than what you see here.
Thanks for watching. Stay tuned for more tutorials coming soon.